Quality Assurance
Quality Assurance: More Than Meets the Eye
Quality assurance in fabrication involves a series of meticulous checks and assessments at various stages of production. These checks typically encompass first article inspection, in-process inspections, and final inspections. While these are industry standards, Pro-Fab elevates the quality assurance process with the latest technology to deliver exceptional results.
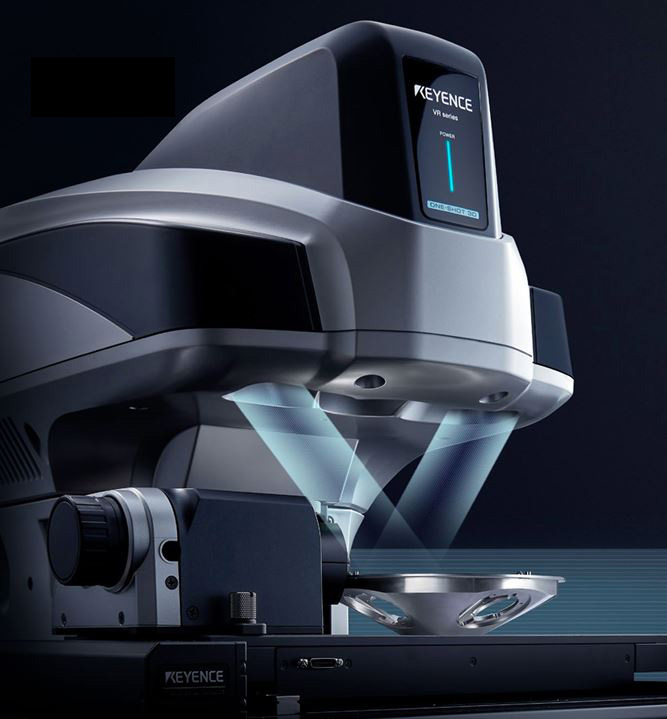
Precision and quality are non-negotiable in the world of custom fabrication. Pro-Fab is a known leader in the industry, and has always been synonymous with top-notch craftsmanship and an unwavering commitment to excellence. When it comes to quality assurance, Pro-Fab goes above and beyond, utilizing rigorous inspection processes to guarantee accuracy and reliability in every project. In addition, we can prove it. With meticulous inspection records and precise reports generated by CMM and 3D Optical Profilometer technology, we have the proof to provide you with peace of mind that your products are made to your exact specifications.
Quality Process
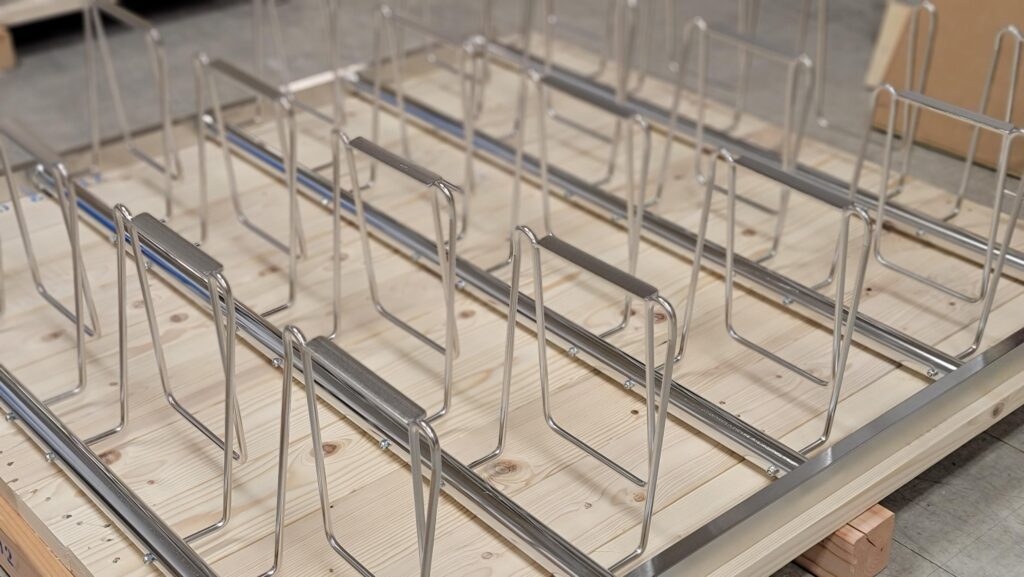
Parts produced at Pro-Fab are subject to strict inspection criteria from the moment they hit the production floor. Inspections are all verified with a signature and a date to provide accountability and a timeline.
As soon as the first operation of a part is complete, dimensions are verified. We call this the First OP Inspection. From there, each operation is inspected until the first part is complete.
Once the first part is complete, the parts is brought to an inspector for a First Article Inspection. In the First Article Inspection, all dimensions are verified as well as other customer requirements to ensure the rest of the parts can be completed. This is conducted for part quantities from 1-10. Once the quantity surpasses 10, random part sampling inspections are conducted in addition to the First Article Inspection.
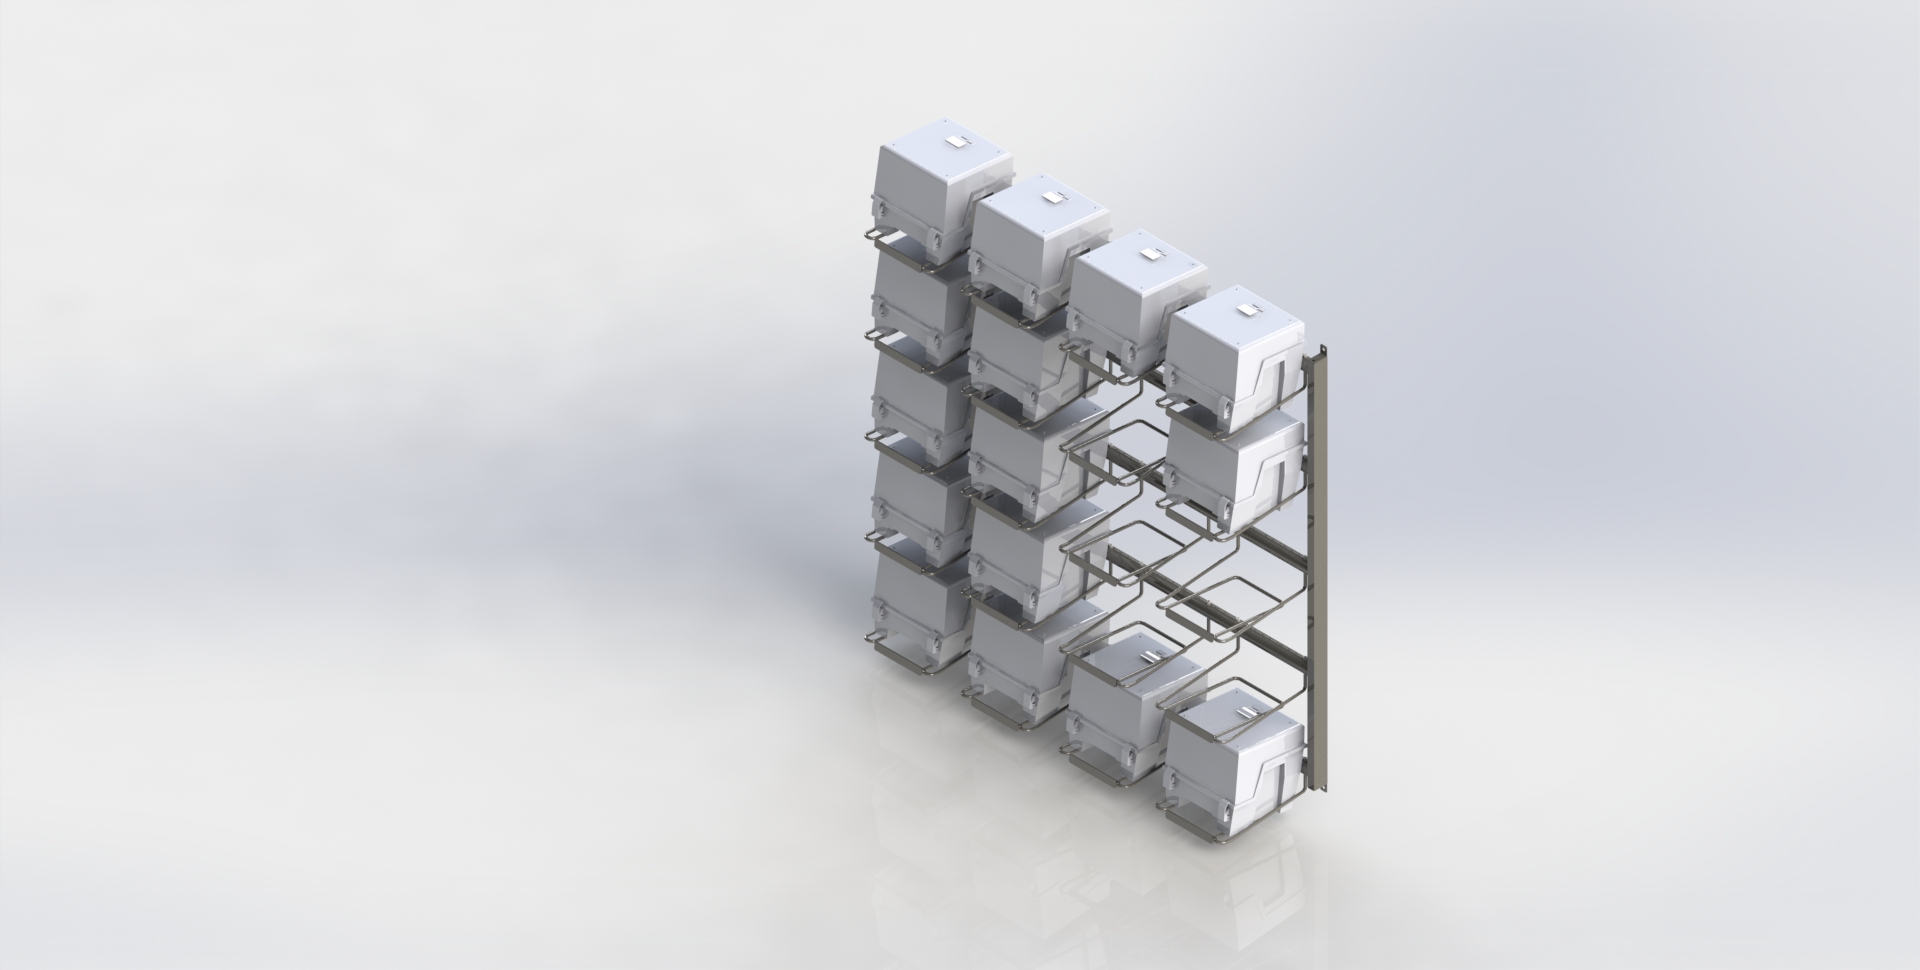
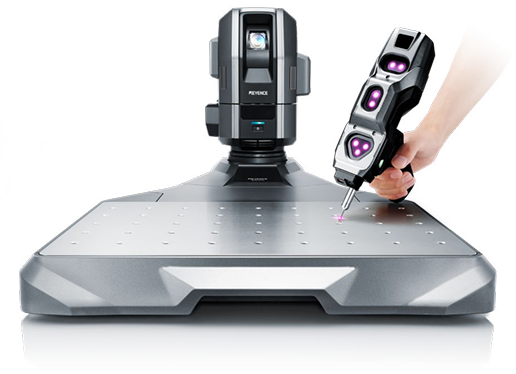
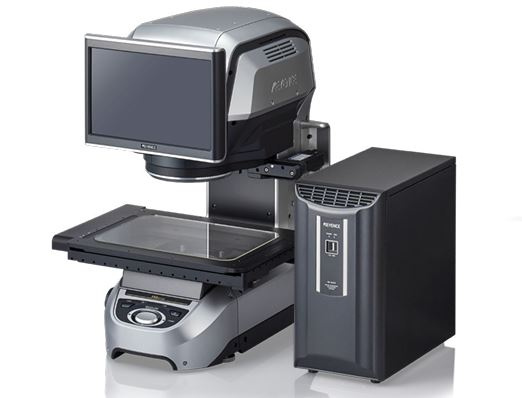
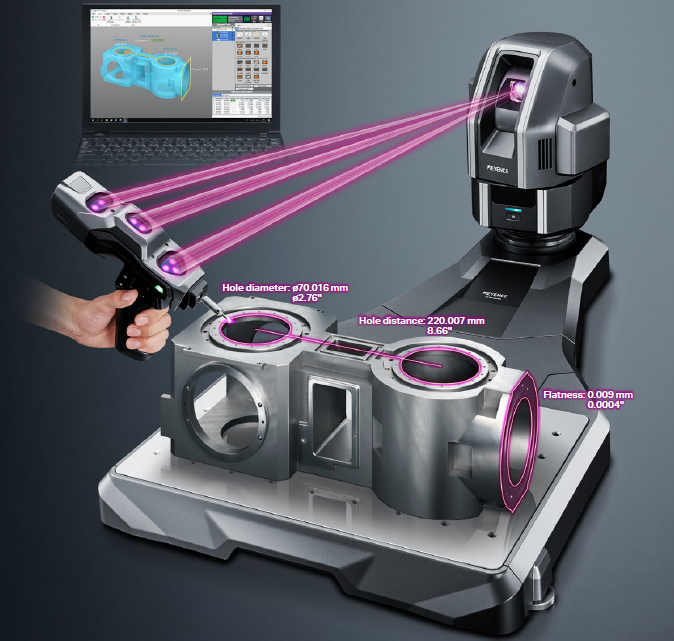
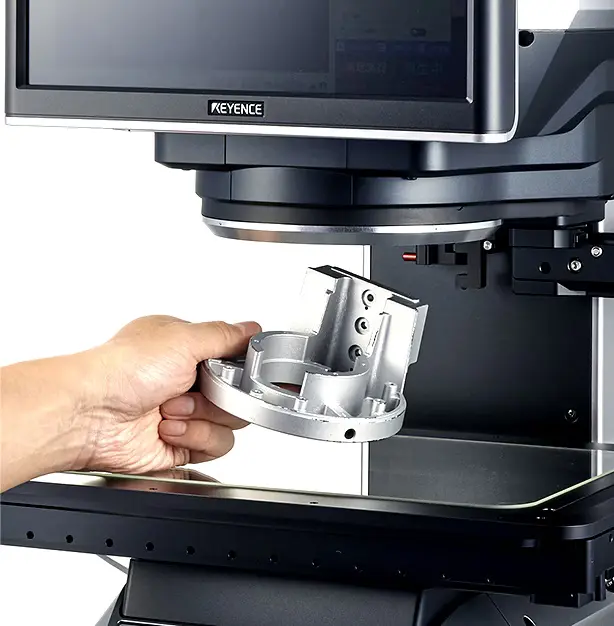
Once parts have passed inspection in all respective departments, they head to Final Inspection. Final Inspection includes close review of the customer prints, pro-fab prints, and Customer PO to verify accuracy and adherence to customer requirements. We utilize cutting edge technology to further prove requirements have been met. We utilize the KEYENCE XM-5000 and the KEYENCE IM-8030 CMMs to provide customers with peace of mind that they are receiving the highest quality possible.
First Article Inspection
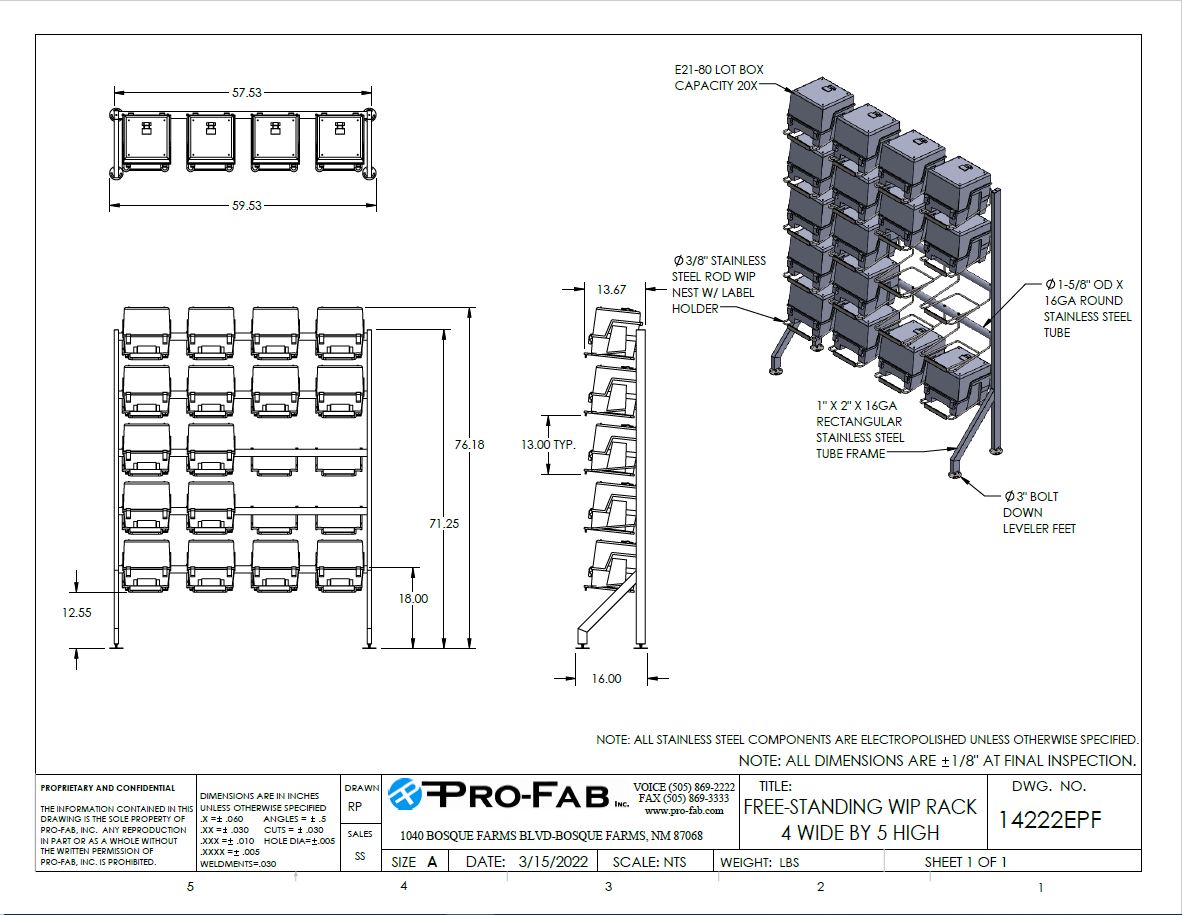
At Pro-Fab, the journey toward impeccable quality starts with a comprehensive first article inspection. This initial step ensures the project begins on the right track, with all specifications and requirements clearly defined and understood. Pro-Fab's expert team reviews drawings, specifications, 3D models, and any special instructions to create a precise roadmap for the fabrication process. This proactive approach minimizes the chances of errors and deviations, setting the stage for a successful project.
In-Process Inspections
Final Inspections
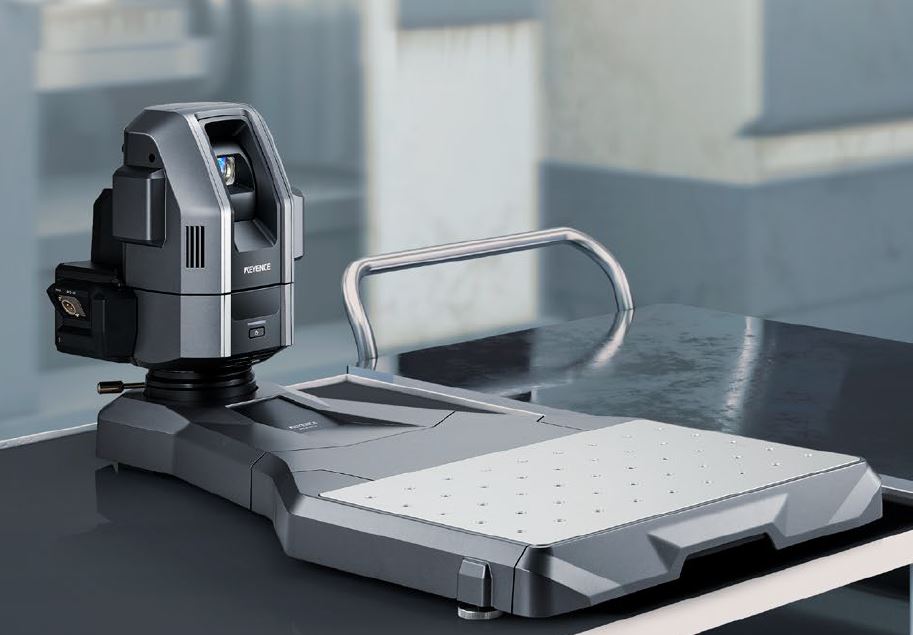
Going Beyond: Utilizing State-of-the-Art Technology
Handheld CMM Coordinate Measuring
Pro-Fab utilizes state-of-the-art Handheld Coordinate Measuring Machines (CMMs) to achieve the highest level of accuracy in dimensional inspections. These portable devices allow inspectors to precisely measure complex geometries and features, ensuring that every detail conforms to the required specifications. Handheld CMMs are versatile and can be used on a wide range of materials, making them an invaluable tool in Pro-Fab's quality assurance arsenal.
Optical Comparator Technology
In addition to handheld CMMs, Pro-Fab employs advanced Optical Comparator technology. Optical comparators use magnification and illumination to create highly detailed, enlarged images of the inspected part. This method is ideal for assessing intricate features, fine details, and surface finishes with exceptional precision. It provides inspectors with a comprehensive view of the workpiece, enabling us to identify even the slightest imperfections.
KEYENCE XM-5000
KEYENCE IM-8030
When you partner with Pro-Fab, you can be confident that your project will not only meet but exceed your expectations. Our relentless pursuit of quality is a testament to our unwavering commitment to delivering the finest craftsmanship in the industry. For projects where precision matters most, Pro-Fab stands ready to turn your vision into reality with unmatched quality assurance. Contact us today to review your upcoming project and receive a quote!

